 John has installed many laser safety systems in the lab.
This system is designed so that only people who know the local laser safety issues within the lab can enter when the lasers are potentially on (each laser typically has a local on/off control). The system also ensures that any doors/windows into the area remain/are kept shut when lasers can be active in the room. This reduces the risk of stray laser beams causing damage/injury.
Should you wish to enter such an area, then you need to be a trained local, or escorted in and out of the lab by a trained local when the system is active.
If you are unable to gain access i.e. you do not know the current lab code and the system is on, then there is a doorbell. This acts like a normal doorbell, and typically can be heard all over the lab. If this gains no response after a few tries, then either wait for an hour or two, speak to someone in the groups write-up area, or speak to us and we may be able to sort you out or provide suitable advice, depending upon the issue at hand.
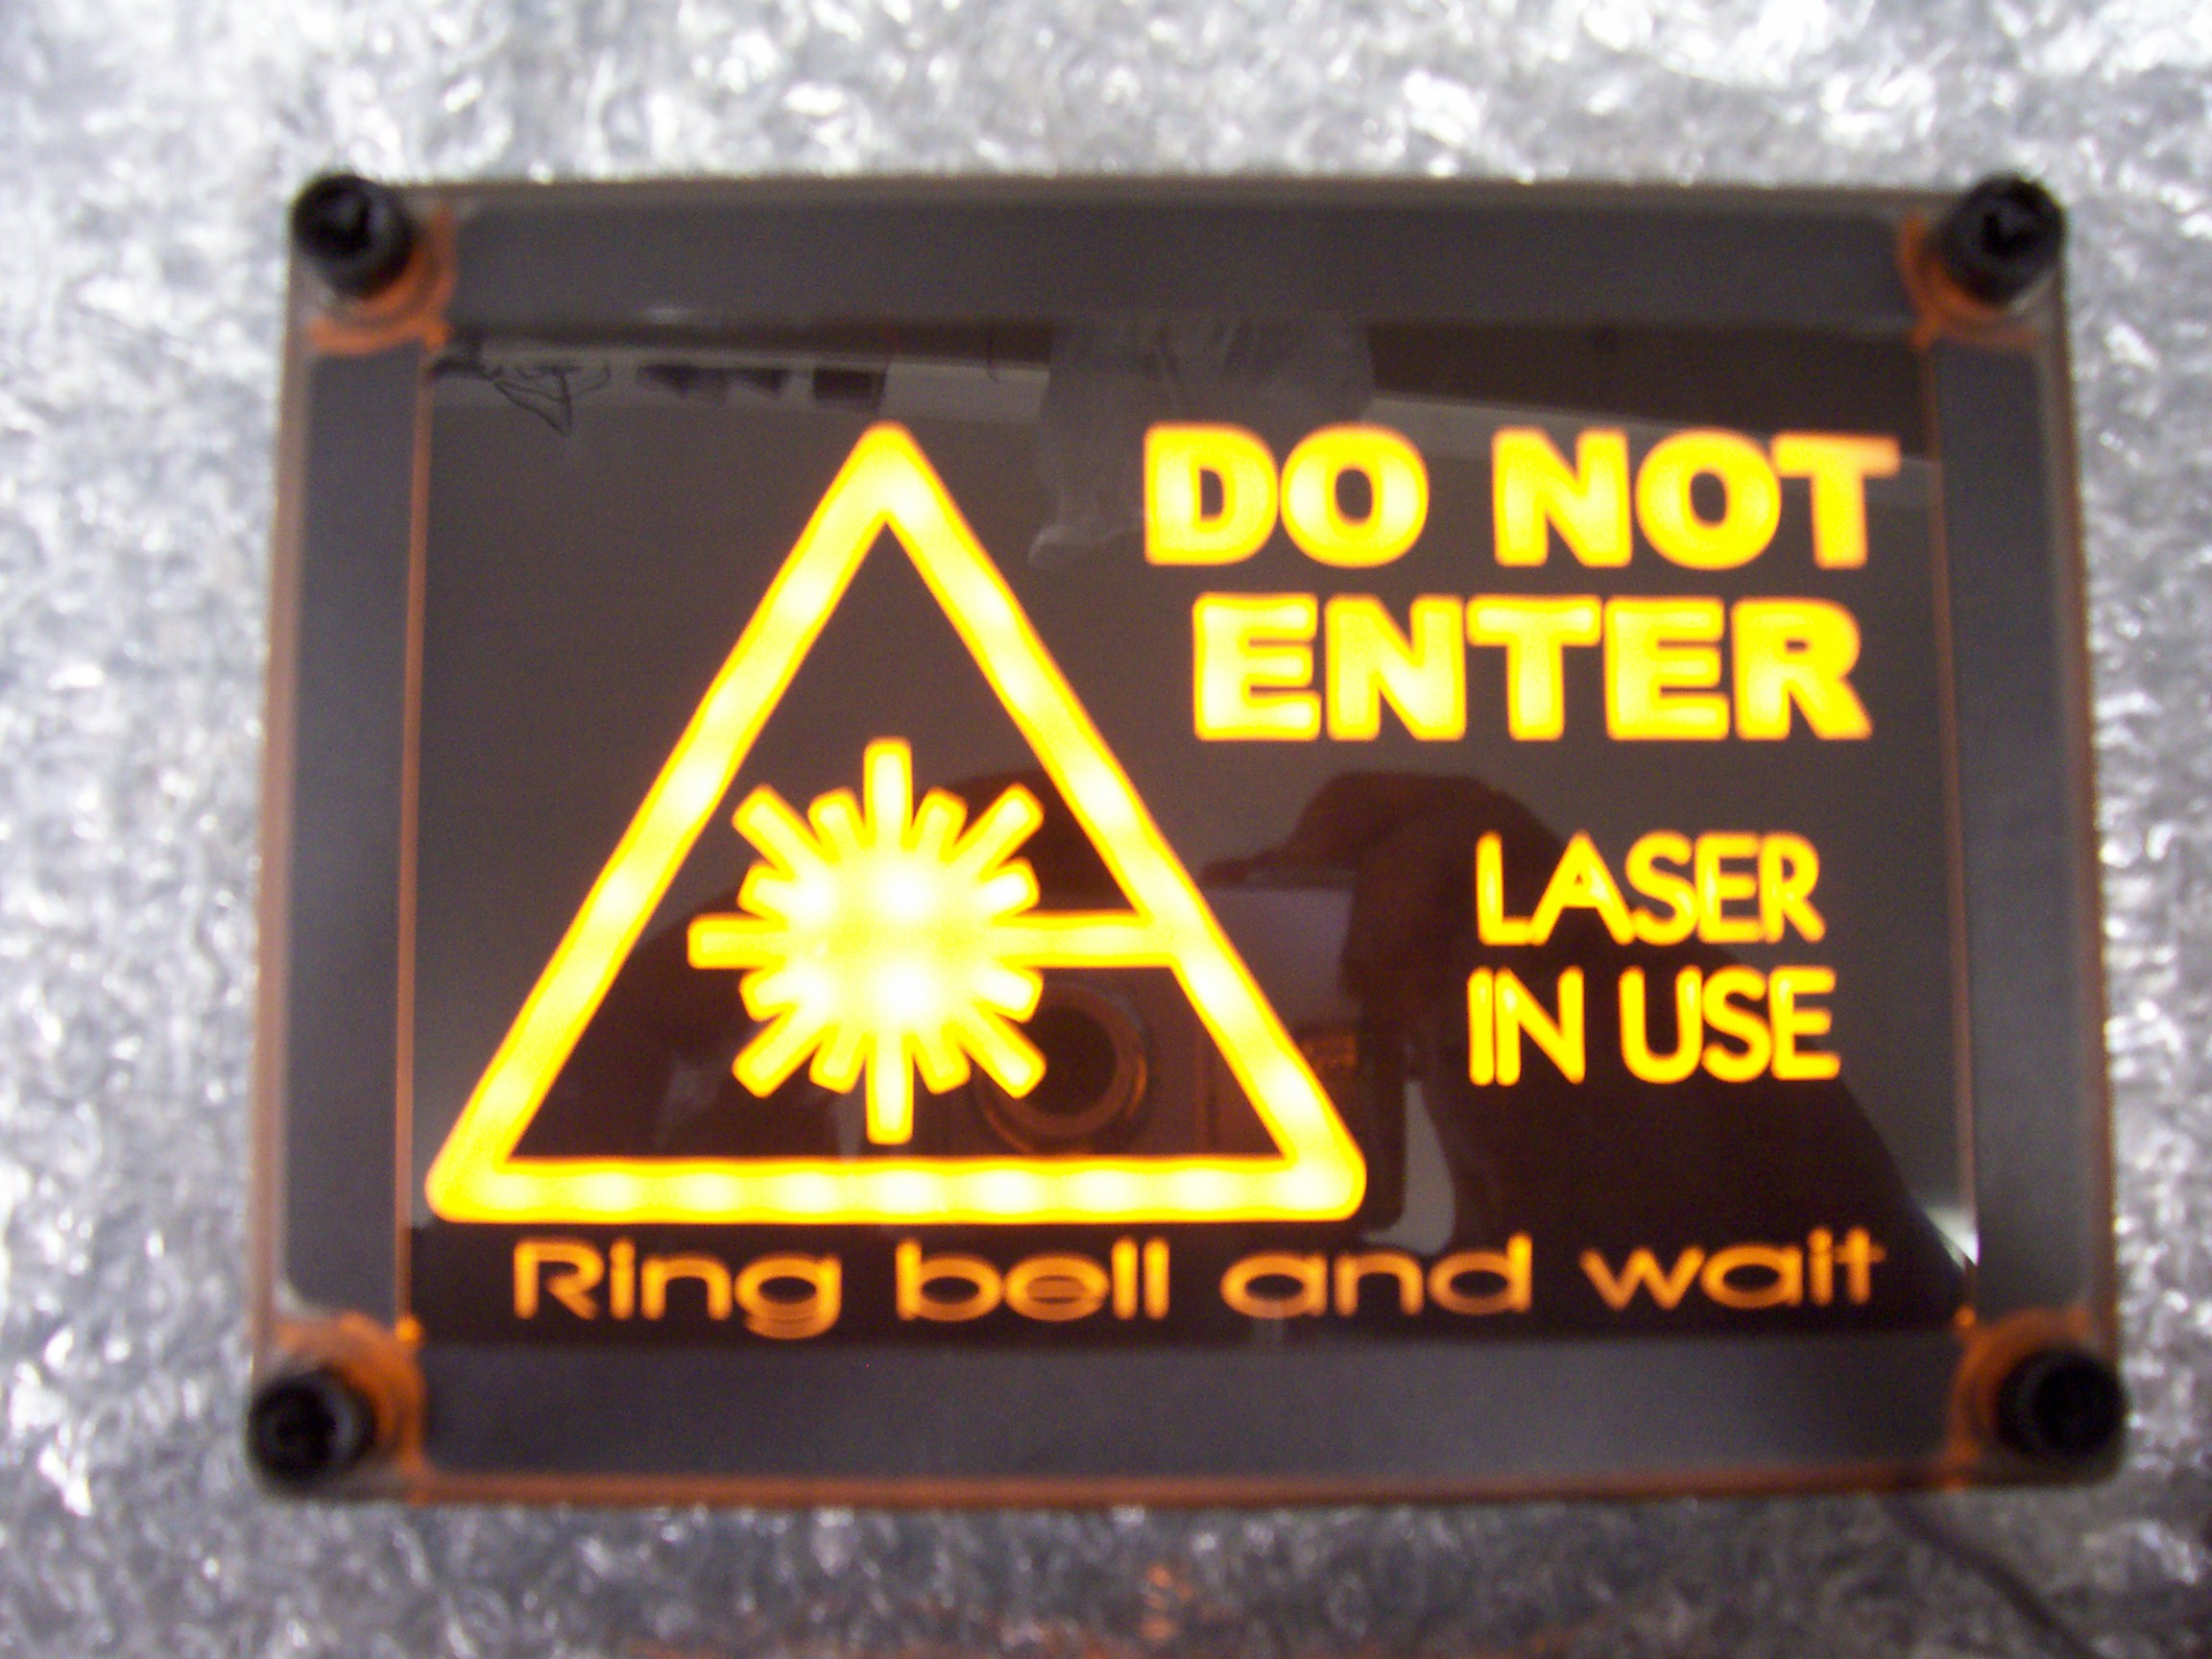 The system is designed that when active, the door is held shut and only allowed to be opened for 10-20 seconds (timings changeable with suitable reasoning) when a keypad is operated to get in or a button to get out. If the door is wedged or otherwise held open, the system will indicate to the laser(s) that the output should be off or put into 'safe' mode. This either turns the entire laser of (modern, small lasers) or closes a shutter across the output orifice (older, larger lasers). It is not recommended to do this without due cause, because the users of the lasers will complain that their experiment was stopped, however, if done the system can be reactivated by a few button presses on the control panel.
There is also a break glass on the outside of the door(s) which if broken will also turn the lasers off. The purpose of this is if there is a fire or accident in the room, then the fire-brigade/safety officer/first aider(s) need easy and safe access. When the glass is broken, it takes longer to return to normality than the door being left open, because a new pain of glass needs to be obtained before the system can be reactivated. Dependant upon stock levels, this can take a week.
Some laser units may be classed as or called lasers in name only, but not be classed dangerous enough by the departmental specification to need an interlock. This type of laser can be used to align the mirrors, filters, samples etc in the laser lab so that when the proper laser gets installed, the user can be sure that the dangerous laser beam remains safely within the table barriers and follows a known course without much alteration to the setup. For visible lasers, there is the option of putting a filter on the output so that the laser light is at 10% (or less) so that the effective beam is non-damaging, and the path can be easily monitored. Another option for low power lasers is a piece of Fluorescence card. This converts any UV light into a visible waveform, allowing the user to see were the beam is from a dot on the card, and see the approximate shape.
John looks after all of the laser systems in the department, and therefore has an idea of what typically goes wrong with them. If he is contacted, then he will generally appear and will typically be able to reactivate the system within 30 min of arriving. When using the system, it is recommended that the lasers are not plugged into/removed from the loop whilst it is turned on. This will typically cause a fuse to fail, and everyone else in the lab to complain about their laser not turning on or stopping whilst their experiment is running.
When a new laser enters an interlocked room it should be registered on the appropriate page and the user speak to either Kevin in electronics, the safety offer, or Stuart Mc Kenzie, all of whom should know what a dangerous laser is and what needs to be done. Further information (should they be unavailable) is available here on the university safety website. If in doubt, find someone both comfortable and competent with the laser safety regulations, and ask them!!
If a laser is present, then before use it needs to be checked for damage (since the last use), that it has a suitable interlock system, and it is firmly bolted to the bench or other surface (as appropriate). Some experimenters may borrow (without asking) a laser that appears not to be being used, damage it through being careless or inexperience, and then return it hoping that they were not noticed. This is rare however, it may occur.
 The interlock system should connect to the laser through a jack plug (typically a bank of 4 on the wall or ceiling) and either connect directly to the controls of the laser, or a small black box near to the laser which then connects to the laser. This black box then has a short cable length to the laser control box. This is because some lasers in the past have complained about the length being too long.
This interlocking box is generally made up by either Tim or John, depending upon who has less on at the time of request.
Depending upon how dangerous the laser is, it will have a variable class code. A class 1 is least dangerous (see below). A class 4 is at the other extreme, where the chances of being blinded for life or otherwise injured (if issues arise) are high. A class 3R/B laser is less likely to cause long term damage, however it is not recommended to play around with them. The laser should have a label stuck onto it to state which class it is (see below).
A class 1 or 2 laser or laser setup needs no external interlock, however should not be looked at for prolonged periods (if viewable).
A class 3R, 3B or 4 laser needs to be connected to the interlocked loop. This will turn the laser of or put a shutter across the output if the door is open too long, or the system is turned of.
Class 3B or 4 have a key switch. This key switch allows for the user to ensure the laser is of, and stays off before placing/moving/removing items into the path of the beam.
A class 4 laser needs the addition of a button to turn on the laser. This button needs to be pushed before the laser comes on but after the power, key switch and loop have been turned on. If the power/loop go down, or the key gets turned of, then the laser will not start up fully until this button is pressed.
If the laser/controller has all 3 safety features, yet is a class 3R then there is no need to worry about the extra interlock features.
Some of the laser rules apply dependent of the wavelength of the laser. One such rule is that red/infrared lasers have a higher cut-off limit for time it can be pointed at the eye. This is due to the fact that the eye will automatically close if it has a bright coloured laser pointed at it, however with ultraviolet (and some blue) lasers, the eye will not react as fast, or at all, therefore enabling the eye to get burnt/sustain damage.
For full details, see this governmental website or the Oxford University safety site (here)
Some lasers are class 1 such as if there is a laser housed within a unit such as a spectrometer or CD player. With those units, so long as the laser is properly housed (no significant amounts of laser radiation escaping) and the doors and fittings (as applicable) are properly interlocked, then the unit doesn't need the extra room interlock. Along with not necessarily needing an interlock, according to the departmental page concerning Class 1 lasers, 'The inventory must also include those laser systems classed as 1 or 2 by design that have embedded Class 3 or 4 lasers, whose beams might be exposed during routine service and maintenance' so it is best to check with the Departmental Laser Supervisor if in doubt.
The requirement for such a unit is that it has a label stating 'a class 1 laser containing a class X laser' where the X is '3R', '3B' or '4' dependant upon how dangerous the contained laser is.
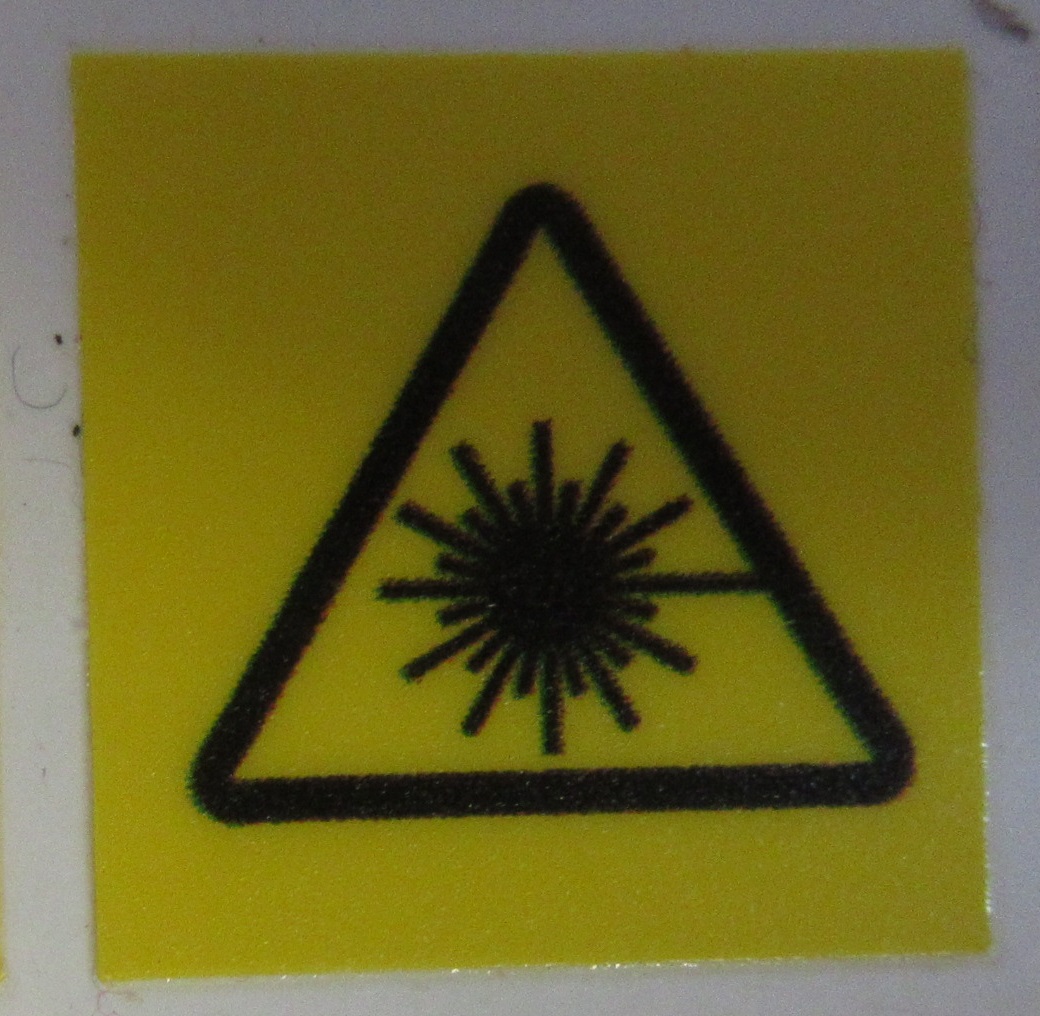 All units need a laser sticker on (left) with an addition sticker stating what class of laser is attached.
Below are the standard labels that we use. Some items that come in from external companies have different labels for added confusion.
Should you find a laser that has no label attached either to the laser itself, or if there is no room, attached to the controller (assuming it is wired in) then come down and speak to Kevin, who will then decide which label is most appropriate. Most of our labels comes in two sizes, small or large. This will cover most situations.
Some LED's in the visible and non visible range have been used within the lab. The lower power visible/infrared LED's are generally OK to use without additional protection, however the high power visible/infrared and UV LED's have the issue that they can cause temporary or long-term blindness, so they should either be limited to safe viewing levels, or used within interlocked cases. Some groups have had a small box made up around 500mm cubed with a fitted lid to use the light sources in. The box would have a small flap at the back or side through which the cables would go. This cable would connect the LED inside the box to a controller outside the box, allowing for several methods of controlling the light source. This flap would also allow for any test probes or metres to connect to the outside such as a webcam, or light metre. Another option is to have a small locker with all the holes covered up. This would have a set of sockets on the side/back attached to some leads on the inside, or a die-cast box with some sockets on the inside/outside and controls (if applicable) on the outside.
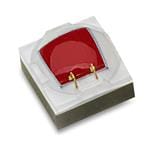
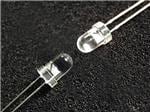
For more info, see the section on LED's.
If you have any doubt about either your safety, or that of a colleague whilst using such a device, do not hesitate to ask. No question is too stupid when it comes to being safe.
top